Friday 29 April 2011

Scene One

Through out my storyboard I hadn't put any consideration into the background of each scene. I know I wanted most of the scenes set indoors but I wasn't sure how I was going design this. My first thoughts were to have Balloon Boy live in a average looking family home.


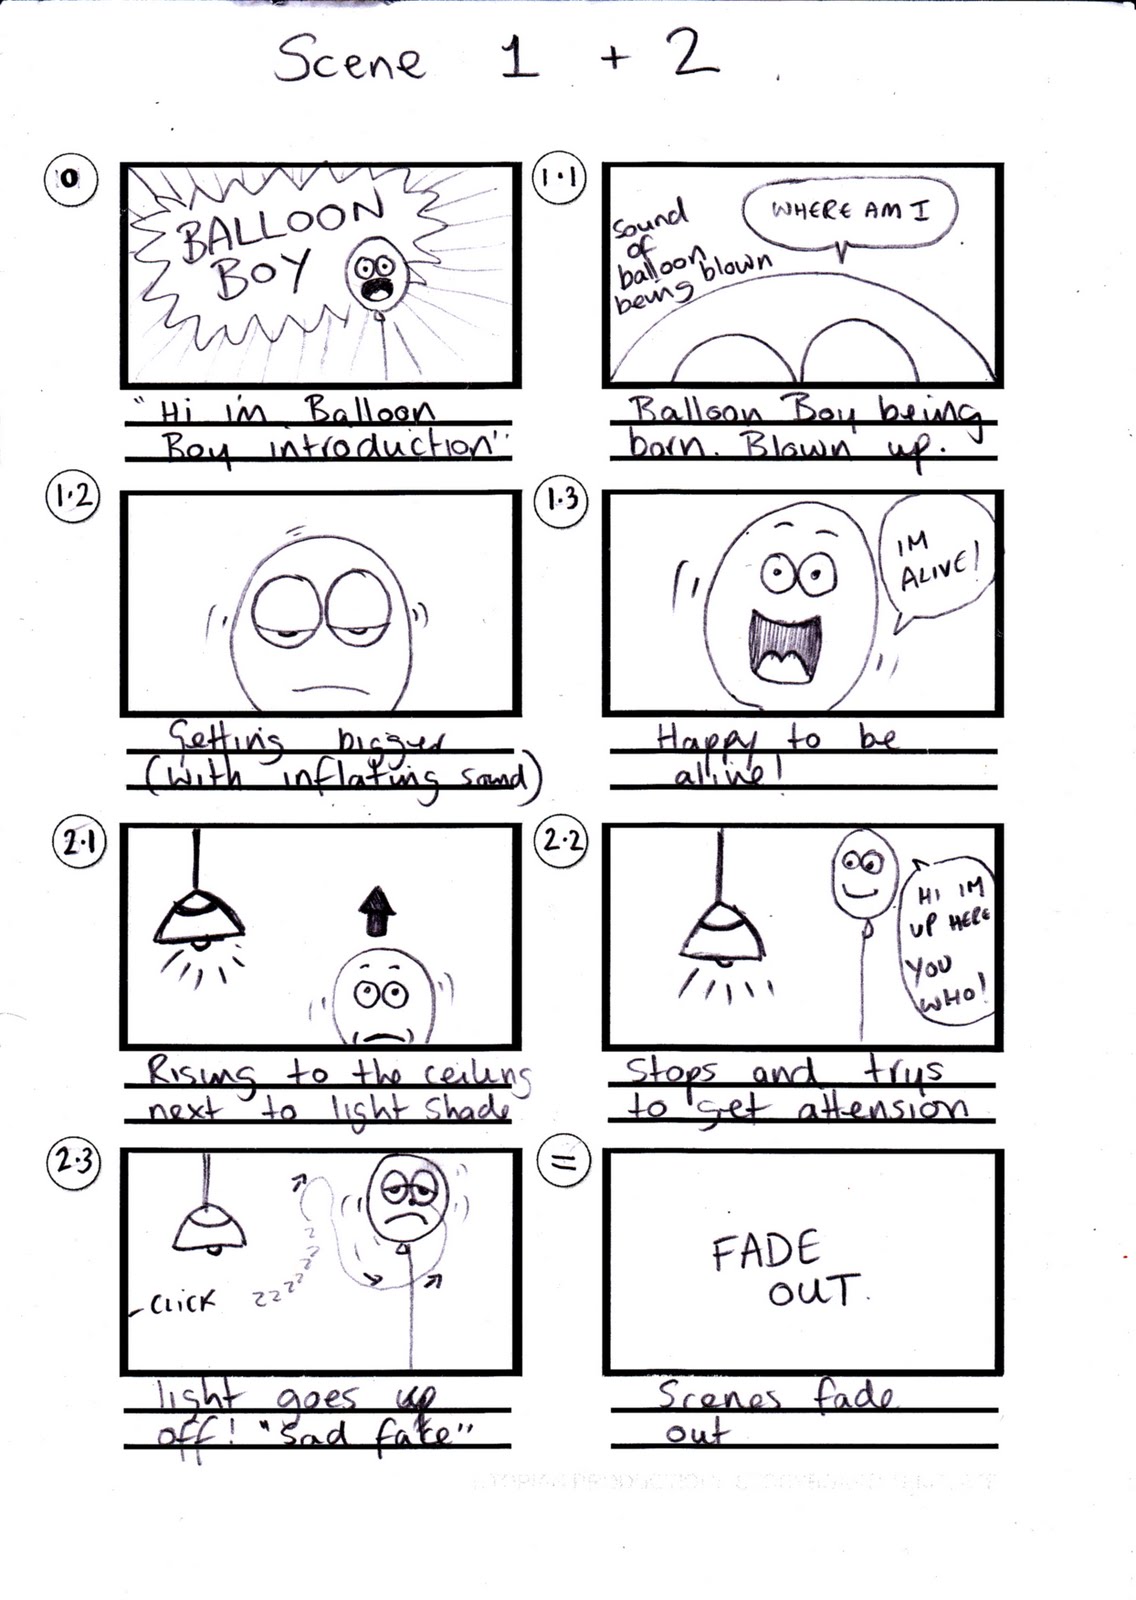
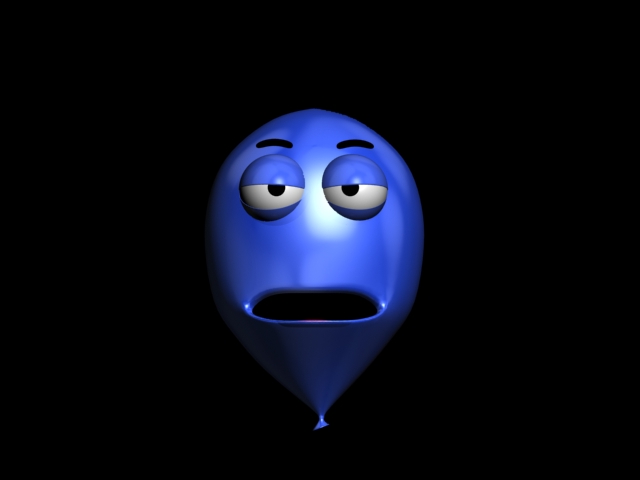
Scene one starts of with Balloon Boy being inflated close to the camera. I wanted to keep him close because I thought it kept a little trepidation before the whole character was introduced. Next I wanted the character to look like he was opening his eyes for the first time. I liked the idea of him being born like Frankenstein's monster so I gave him a line like the one from the classic film.Once he says his line I wanted to give him a beaming smile. This would tell the audience straight away that he is a happy and cheerful character.

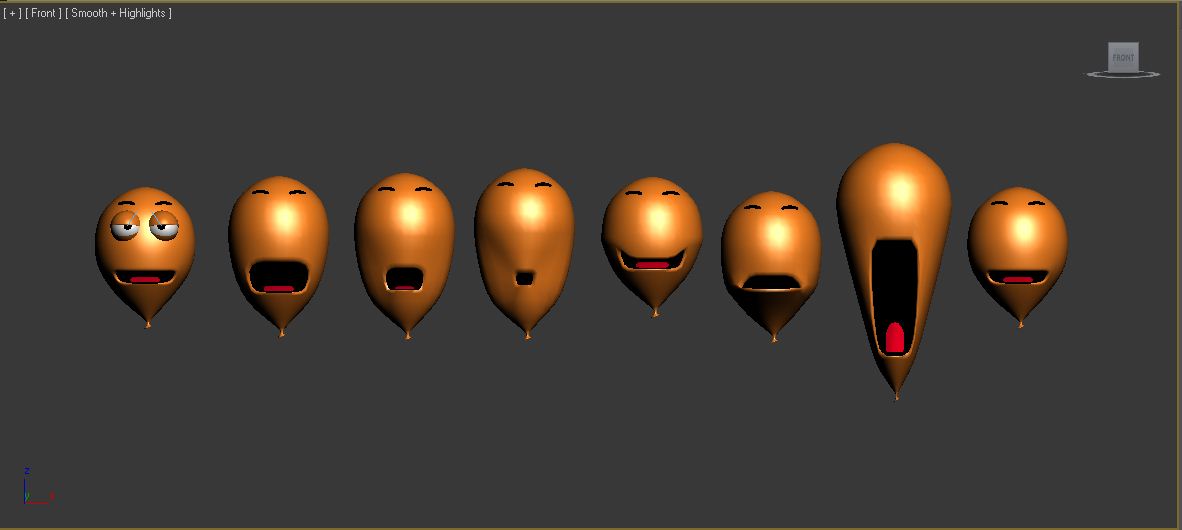
The scene was put together by using the control points, camera zoom and syncing the mouth by using the Morpher to match the sound that was loaded into the curve track editor.


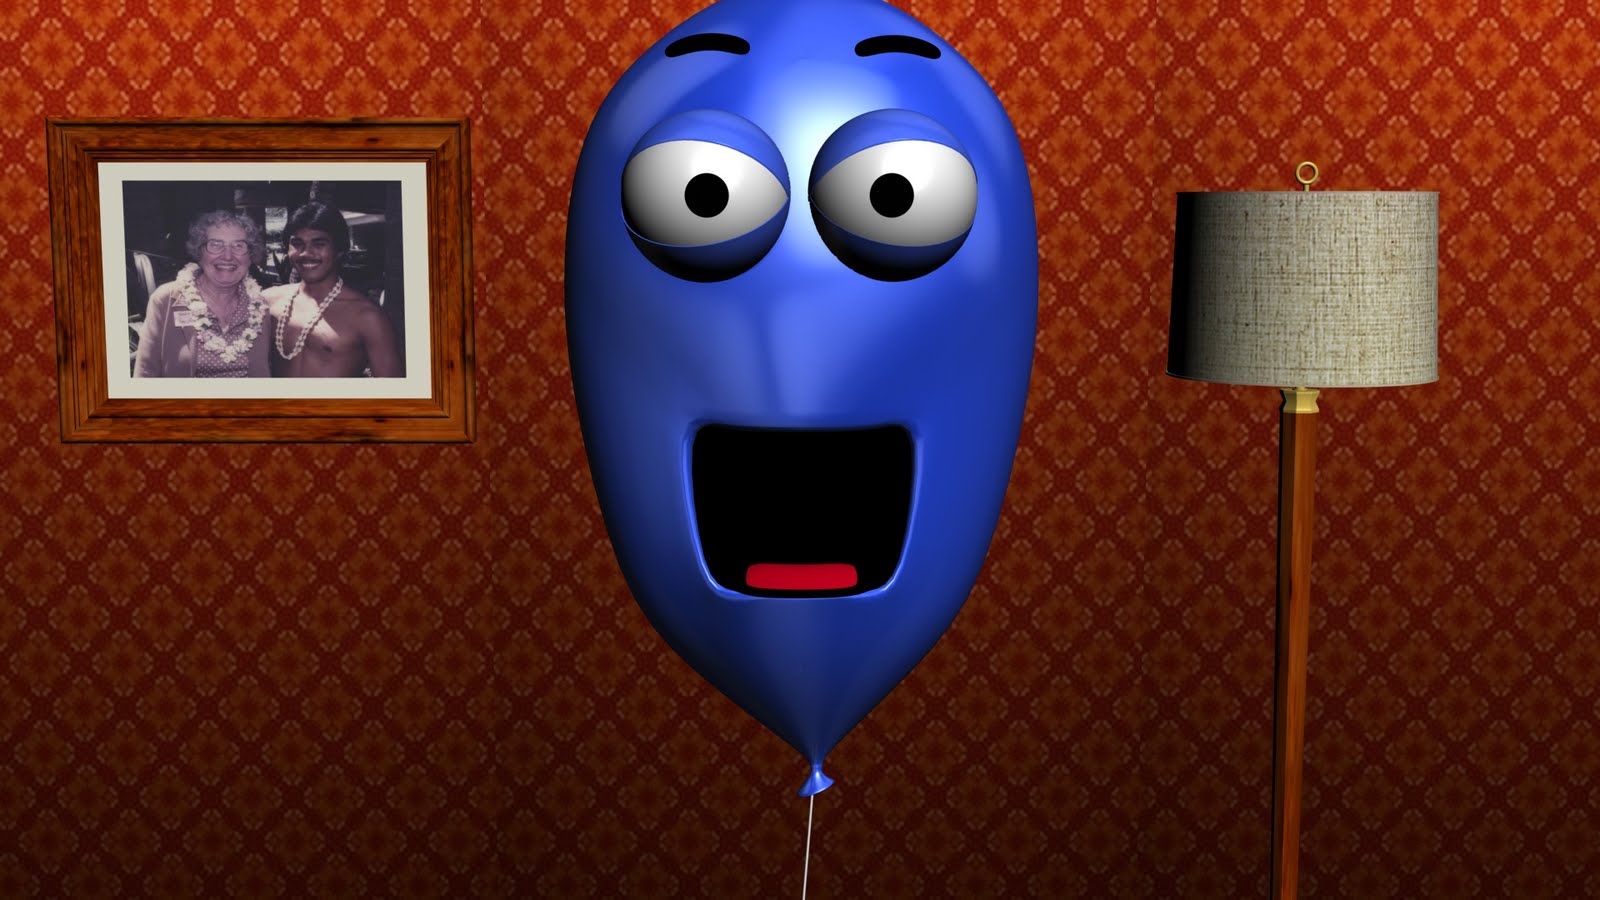
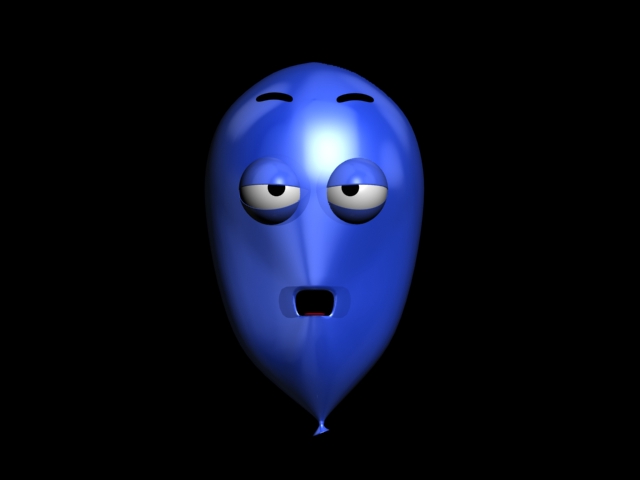
The scene I created had a back wall with wallpaper, a lamp and a silly picture on the wall. I wasn't to sure if I liked the décor or if it would look better without these items. What I needed to do was a bit to research into backgrounds. After looking on you tube for a short while I realised that a lot of short animations kept the backgrounds blank. This emphasized the characters within the scene better.


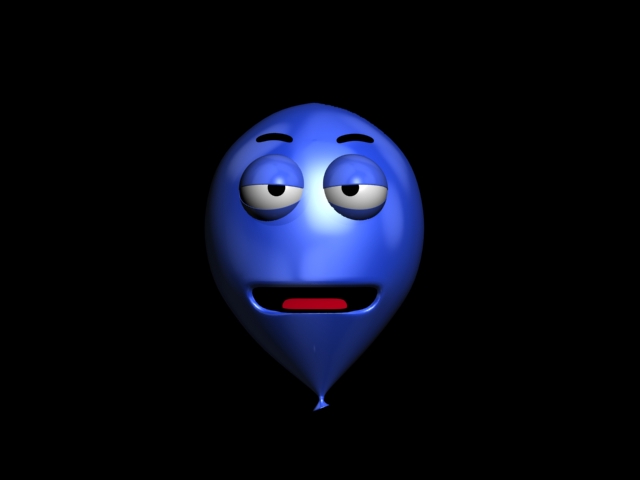
Above is the background style I am going to keep throughout my film. Because the module is focusing of the character it would be wise to leave out needless parts of the environment. The background was created by adding a blurred picture into the environment background parameter.

Tuesday 26 April 2011

Storyboards Explained

The name of my animation will be called "The Trails and Tribulations of Balloon Boy". This is a tongue and cheek reference to the the bad luck he goes through. I want to make some short sketches that showcase different comical things that happen in his life. Balloon Boy is a likeable character that seems very excitable and happy. But that happiness soon turns to sadness when time after time he gets hit with bad luck.

  • Introduction - The intro will be a simple 2D animation with an happy jingle and Balloon Boy inducing himself.
  • Scene 1 - This will see the birth of Balloon Boy. He will slowly gets blown up and enthusiastically says "I'm alive". (quote taken from Frankenstein; "He's alive!").
  • Scene 2 - In this scene Balloon BoldBoy rises to the ceiling next to the light shade. He's up there for a little while before he try s to get someone attention. Next his bad luck continues when the light goes out and a fly lands on his nose.
  • Scene 3 - This is a short scene where Balloon Boy gets dragged towards a wall due to static electricity.
  • Scene 4 - Here someone is undoing Balloon Boys knot. He pleads for them to not do it but he ends up flying across the scene and ends up splatted up against the camera where he slides down with a screech.
  • Scene 5 - Scene five starts with a 2D into saying "Balloon Facts" next the scene sees Balloon Boy telling the viewers a interesting fact.

Storyboards


Morpher Modifier - continued


Above is a picture of Balloon Boy smiling.


Above is a picture of Balloon Boy being sad.


Above is a picture of Balloon Boy screaming.


Above is the screaming Morph but I have stretched the eyes by moving the control points on the FFD boxes. I have also made the pupils bigger.

Morpher Modifier

To create the different facial expressions for my character I experimented with the Morpher Modifier. With this modifier I could set up the different expressions that are connected to simple controllers that are found inside the Morpher parameters. The problem I had with this modifier was getting it to work with my eye rig. I connected the helper point between the eyes to my face mesh and that's worked fine. The eyes moved with the head but when I move the Morpher on the face mesh for mouth movement and expressions, the eyes don't move with the face! After a lot of testing I resorted to the fact that there was no way of linking the eyes to move with the Morpher. My only alternative was to manually animate the eyes up and down with the movement of the head.


My Balloon character was nearly complete but I needed to make some finishing touches on him. First I changed the colour of him to a bright blue. This I thought would make the character stand out better and the colour blue is widely linked to boys. To give the balloon a realistic look I gave the balloon some a reflected material. This was achieved by adding an environmental jpeg picture to the Reflection map. I also wanted the balloon to be slightly translucent, so I lowered the Opacity in the basic parameters.


In the picture above Balloon Boy is in his idle state with no facial expressions. I will try and use this state when his face relaxes and not doing anything.


Above is Balloon Boy with his mouth open Wide.


Here Balloon Boy has his mouth open (medium).


The last picture Balloon Boys mouth open at his smallest size. Here you can see the geometry behind the mouth. This is because of the opacity had been lowered. I felt that this looked o.k but any more and the geometry would show through too much.