
Thursday 24 March 2011
Eyes **NEW**

Next I added a a Slider from the Helper/Manipulator tab. Click on the first eye lid then right click and choose wire parameters. Here I selected object/value and dragged the pointer on to the eye lid. Then I right clicked again and choose Transform/Rotation/X Rotation. A screen pops up where I selected Both directions and then select. Once this was done I played around with the sliders parameters to get the Eye lid working properly. I then repeated the process for the other three lids. I also used the same method to make the pupils grow when the slider is moved.

The last thing I did was to add some FFD boxes around the eyes. Once in position I then used the 'Bind to Spacewarp button to connect the eyes to the cage. This will come in handy if I want to make the eyes look like they have expaned or deflated.

Finally I made a controller so my eyes could follow. I created a helper point in front of the eyes and then went to the Motion panel and choose 'Assign controller' and selected 'Rotation'. Next I pressed the small button just above this panel. In the pop up box I chose 'Look at constraints'. I then clicked on 'Add lookout target'. I also had to select 'Z' and 'Flip' so the pupil was facing forward.

Once the eyes ere added to the Balloon model I though they looked pretty good. They looked quite different to my original eyes because they stuck out quite a bit and I couldn't add any eye lids to the last model very easily. These eyes give me a greater control over the way they can move which should ultimately make my character display his emotions better.
Thursday 3 March 2011
Balloon Boy - Video Test Two
The eyes and the eye brows were animated separately after the lip syncing, they were not apart of the main model. The eyes brows were not totally flush to the balloon because it would be hard to move them up the forehead at a slight angle so I animated them moving directly up and down. The problem with this was that from side angles the eye brows seem to be floating in front of the face! This is something I needed to look into.
Balloon Boy - Video Test One
The first thing I noticed when trying to animate him was that I needed to move both the top and bottom of his head when he talked. This was because it didn't look right with just his bottom jaw moving because the balloon looked like it had to much weight or mass, like a human head. By moving the top and the bottom of the balloon I made the character look lighter and unstable.
Balloon Boy - 3D Testing

The Head was made from a simple sphere the eyes were made by using the 'Insert' feature once it had been turned into an Editable Poly. The Mouth was created by using the 'Extrude'. I then coloured the different parts of the character by using the Multi sub-object mode within the material editor.
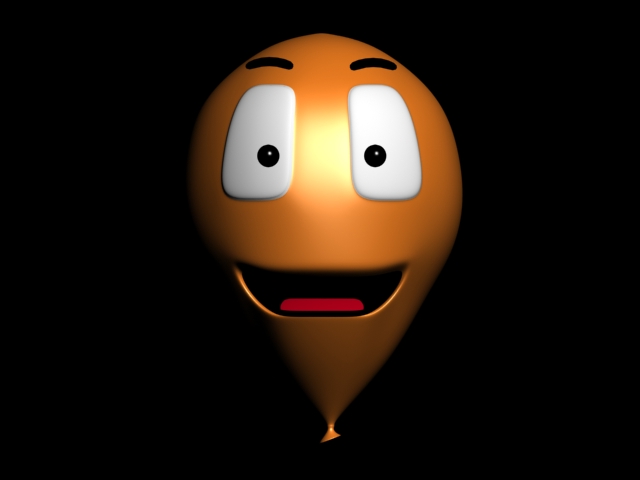
I liked the way the shape of the balloon changed when moving him into his different mouth shapes. This is something that wouldn't happen naturally if I just added a video to the balloon boys fetures. I didn't add any eye lids for now but if I do use this version I will do later.
